Everything about trekking poles for Nepal. Types, how to actually use them uphill and downhill, buy at home vs Kathmandu, wrist strap technique, and what our guides say.
Govt Regd. No.: 147653/072/073
Tourism License: 2838/072
Trekking Poles in Nepal: Do You Need Them and How to Use Them

Do You Actually Need Trekking Poles in Nepal?
Short answer: yes.
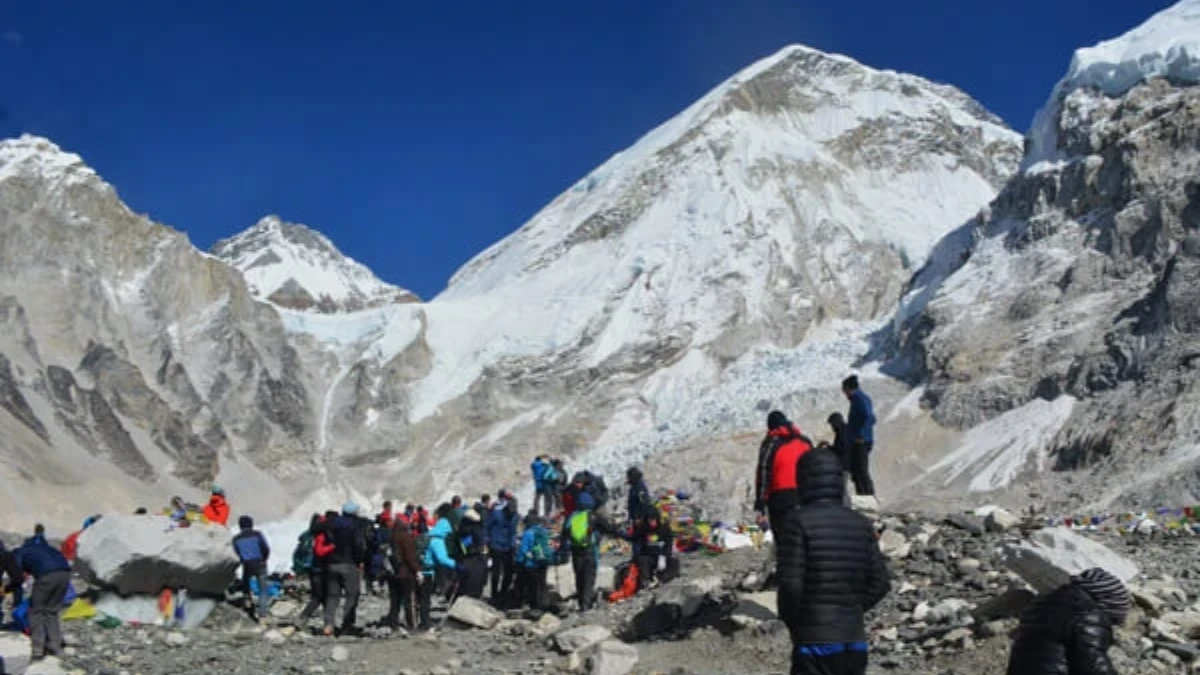
Long answer: you can trek without them. Plenty of people do. But your knees won't thank you, especially on the descents. The trails in nepal aren't smooth paths — they're uneven stone steps, loose gravel, river crossings, and muddy stretches where one slip means a twisted ankle. Poles don't just help with balance. They transfer load from your legs to your arms, reducing knee impact by 25 to 30 percent on downhill sections.
I used to think poles were for older trekkers or people who weren't fit enough. Then I walked the EBC return descent from namche to lukla without them (forgot them at the lodge) and my knees were swollen for three days. Now I won't walk a single day without them.
What Kind of Poles Should You Get?
Adjustable vs fixed: adjustable. Always. You need them short for uphill, long for downhill, and collapsed for sections where you use your hands (scrambling over rocks, crossing bridges). Fixed-length poles are cheaper but useless when the terrain changes — and it changes constantly on nepal trails.
Three-section vs two-section: three-section poles fold shorter, which matters for flights (they fit in your checked bag or duffel). Two-section poles are slightly sturdier but don't collapse as small. For nepal trekking, three-section is the practical choice.
Aluminium vs carbon: aluminium is cheaper, slightly heavier, and bends rather than breaking when stressed. Carbon is lighter, stiffer, and shatters if hit hard at the wrong angle. For rocky nepal trails where poles take abuse, aluminium is the safer choice. Carbon is fine if you're careful and willing to accept the risk of a broken pole at 4,500m.
Locking mechanism: twist-lock or lever-lock. Lever-lock (also called flick-lock) is better — it's easier to adjust with cold or gloved hands, doesn't seize up in cold weather, and doesn't require you to stop walking to readjust. Twist-locks work fine in warm conditions but can freeze or loosen at altitude.
Grips: cork or foam. Both work. Cork moulds to your hand over time and handles sweat better. Foam is softer and warmer in cold weather. Avoid rubber grips, they cause blisters on multi-day treks.
How Do You Actually Use Them?
This is where most people go wrong. They hold the poles like walking sticks from a costume shop, straight down, barely touching the ground, getting in the way more than helping.
On flat ground: plant the pole at the same time as the opposite foot. Right foot, left pole. Left foot, right pole. Natural walking rhythm. The pole tip should hit the ground roughly level with your back foot.
Going uphill: shorten the poles by 5-10cm. Lean slightly forward. Plant both poles ahead of you and push up. The arms share the work with your legs. On steep sections, use the poles as anchors, plant, step up, plant, step up.
Going downhill: lengthen the poles by 5-10cm. Plant them ahead of you before each step. The poles absorb impact that would otherwise go through your knees. On steep stone steps (and there are thousands between namche and lukla), plant both poles on the step below before lowering yourself down.
On traverses: one pole shorter (uphill side), one pole longer (downhill side). This keeps you balanced on the slope. Adjust at every switchback.
Should You Buy Them at Home or in Kathmandu?
Either works.
At home: you get exactly what you want, you can test them on training walks, and you know they won't break. Brands like black diamond, leki, and komperdell are reliable. Expect to pay $40-100 for decent poles.
In kathmandu: thamel shops sell trekking poles for 1,500-3,000 NPR ($11-22). The quality varies wildly. Some are solid aluminium with decent locks. Some are thin tubes that bend on the first steep descent. Check the locking mechanism, lean your full weight on them in the shop, and buy from a busy shop where the turnover means newer stock.
You can also rent poles in kathmandu for 200-300 NPR per day, but rental poles are usually the worst quality in the shop.
What About Wrist Straps?
Use them. The strap takes the weight — your hand just guides direction. Put your hand UP through the strap (from below), then grip the handle with the strap running across the back of your hand and under your wrist. This way, the strap bears your weight when you push down, not your grip. Your hands won't tire as fast and you can relax your grip on flat sections.
The exception: river crossings and narrow sections with drops. Unclip the wrist straps so you can let go instantly if you fall. A pole stuck to your wrist in a river crossing can pull you under.
What Do Our Guides Think?
Manoj uses poles on every trek. He's walked the EBC route over 80 times and he still brings them. "the knees don't know how many times you've done it," he says. "they just know it's downhill."
Our guides carry spare pole tips (the rubber and carbide tips wear down on rocky trails). If your tips wear out mid-trek, they'll swap them for you. We've got spares.
Poles are not included in our packages — they're personal gear, like boots. But if you forget to buy them, there's a shop in namche bazaar that sells decent ones for 2,000-2,500 NPR. Don't wait until lobuche to decide you need them.
For a complete gear list, check our EBC packing guide. And if you have questions about any gear, Whatsapp us — we answer gear questions every day.
Trekking poles — yes, especially for EBC descent. Our Everest Base Camp Trek (12 Days) is private (your group only, no strangers), 2026 dates open, From USD $1399. WhatsApp us for tailored 2026 dates and current departures.
Planning a trip to Nepal?
Drop us your details and tell us what you have in mind. We will put together a personalised plan and get back to you.
Not sure which Nepal trek is right for you?
Take our free 2-minute quiz and get personalised recommendations based on your fitness, experience, and travel style.
Find Your Perfect Trek →Need Help? Call Us+977 9810351300orChat with us on WhatsApp
Latest Travel Blogs

How Much Does a Chitwan Jungle Safari Cost in 2026?
An honest 2026 cost guide to Chitwan jungle safaris: park fees, jeep and canoe activity prices, lodge tiers from budget to luxury, transport, and realistic per-person totals.
Read More
How the 10% Deposit Works When You Book a Nepal Trek
What the 10% deposit covers when you book a Nepal trek, how card payments run through Himalayan Bank, and exactly what happens if you cancel or reschedule.
Read More
How Much Does the Gokyo Lakes Trek Cost in 2026?
A verified 2026 cost breakdown for the 10-day Gokyo Lakes trek: tiers from US$1,285 to US$4,332, plus permits, Lukla flights, food, insurance and tips.
Read More